
Blender – Create Skybox Texture
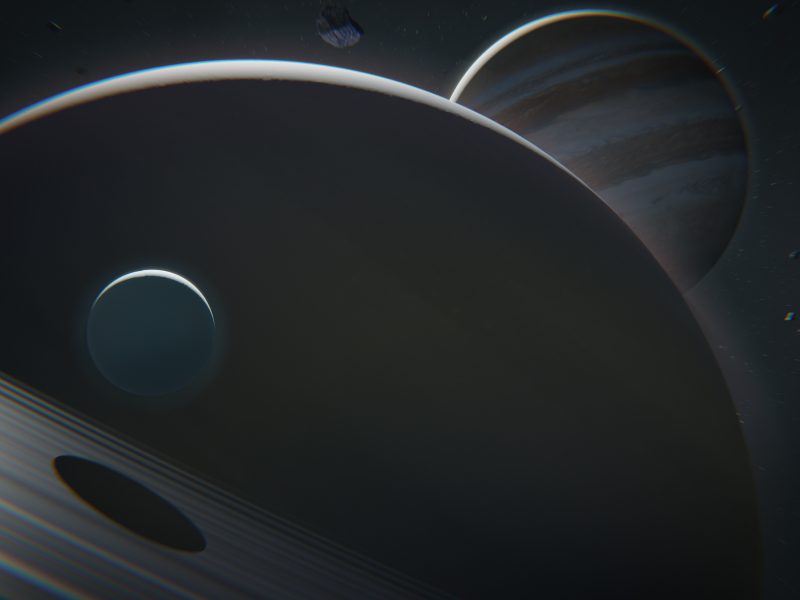
When developing a game, rendering images, animation and etc. Using a skybox/environment texture can quickly add life and realism to a scene. In Blender, it can add a huge amount of realism, if for instance using an HDR (High dynamic range) environment texture. These could add a high level of realism. Because it gives the proper environment light information from all directions, thus giving good irradiance information. But we don’t only need to use external sources. Instead, it is possible to create our own by using Blender for instance. It can create various types of skyboxes texture. Furthermore, they can possibly be used as an optimization technique for reducing the rendering type by rendering the environment once and use it as a skybox and etc.
Type of Skybox
Before starting with creating our skyboxes, let us take a look at some skybox texture types. There are two primary texture types that can be used as a skybox/environment texture. Where panoramic is recommended for Blender, while panoramic and cubemap works for game engines, like Unity 3D.
Panoramic
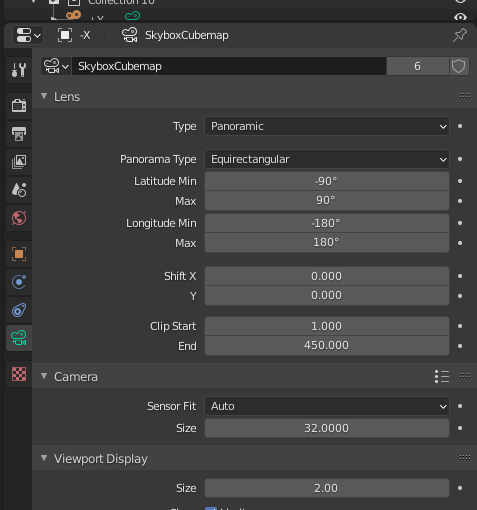
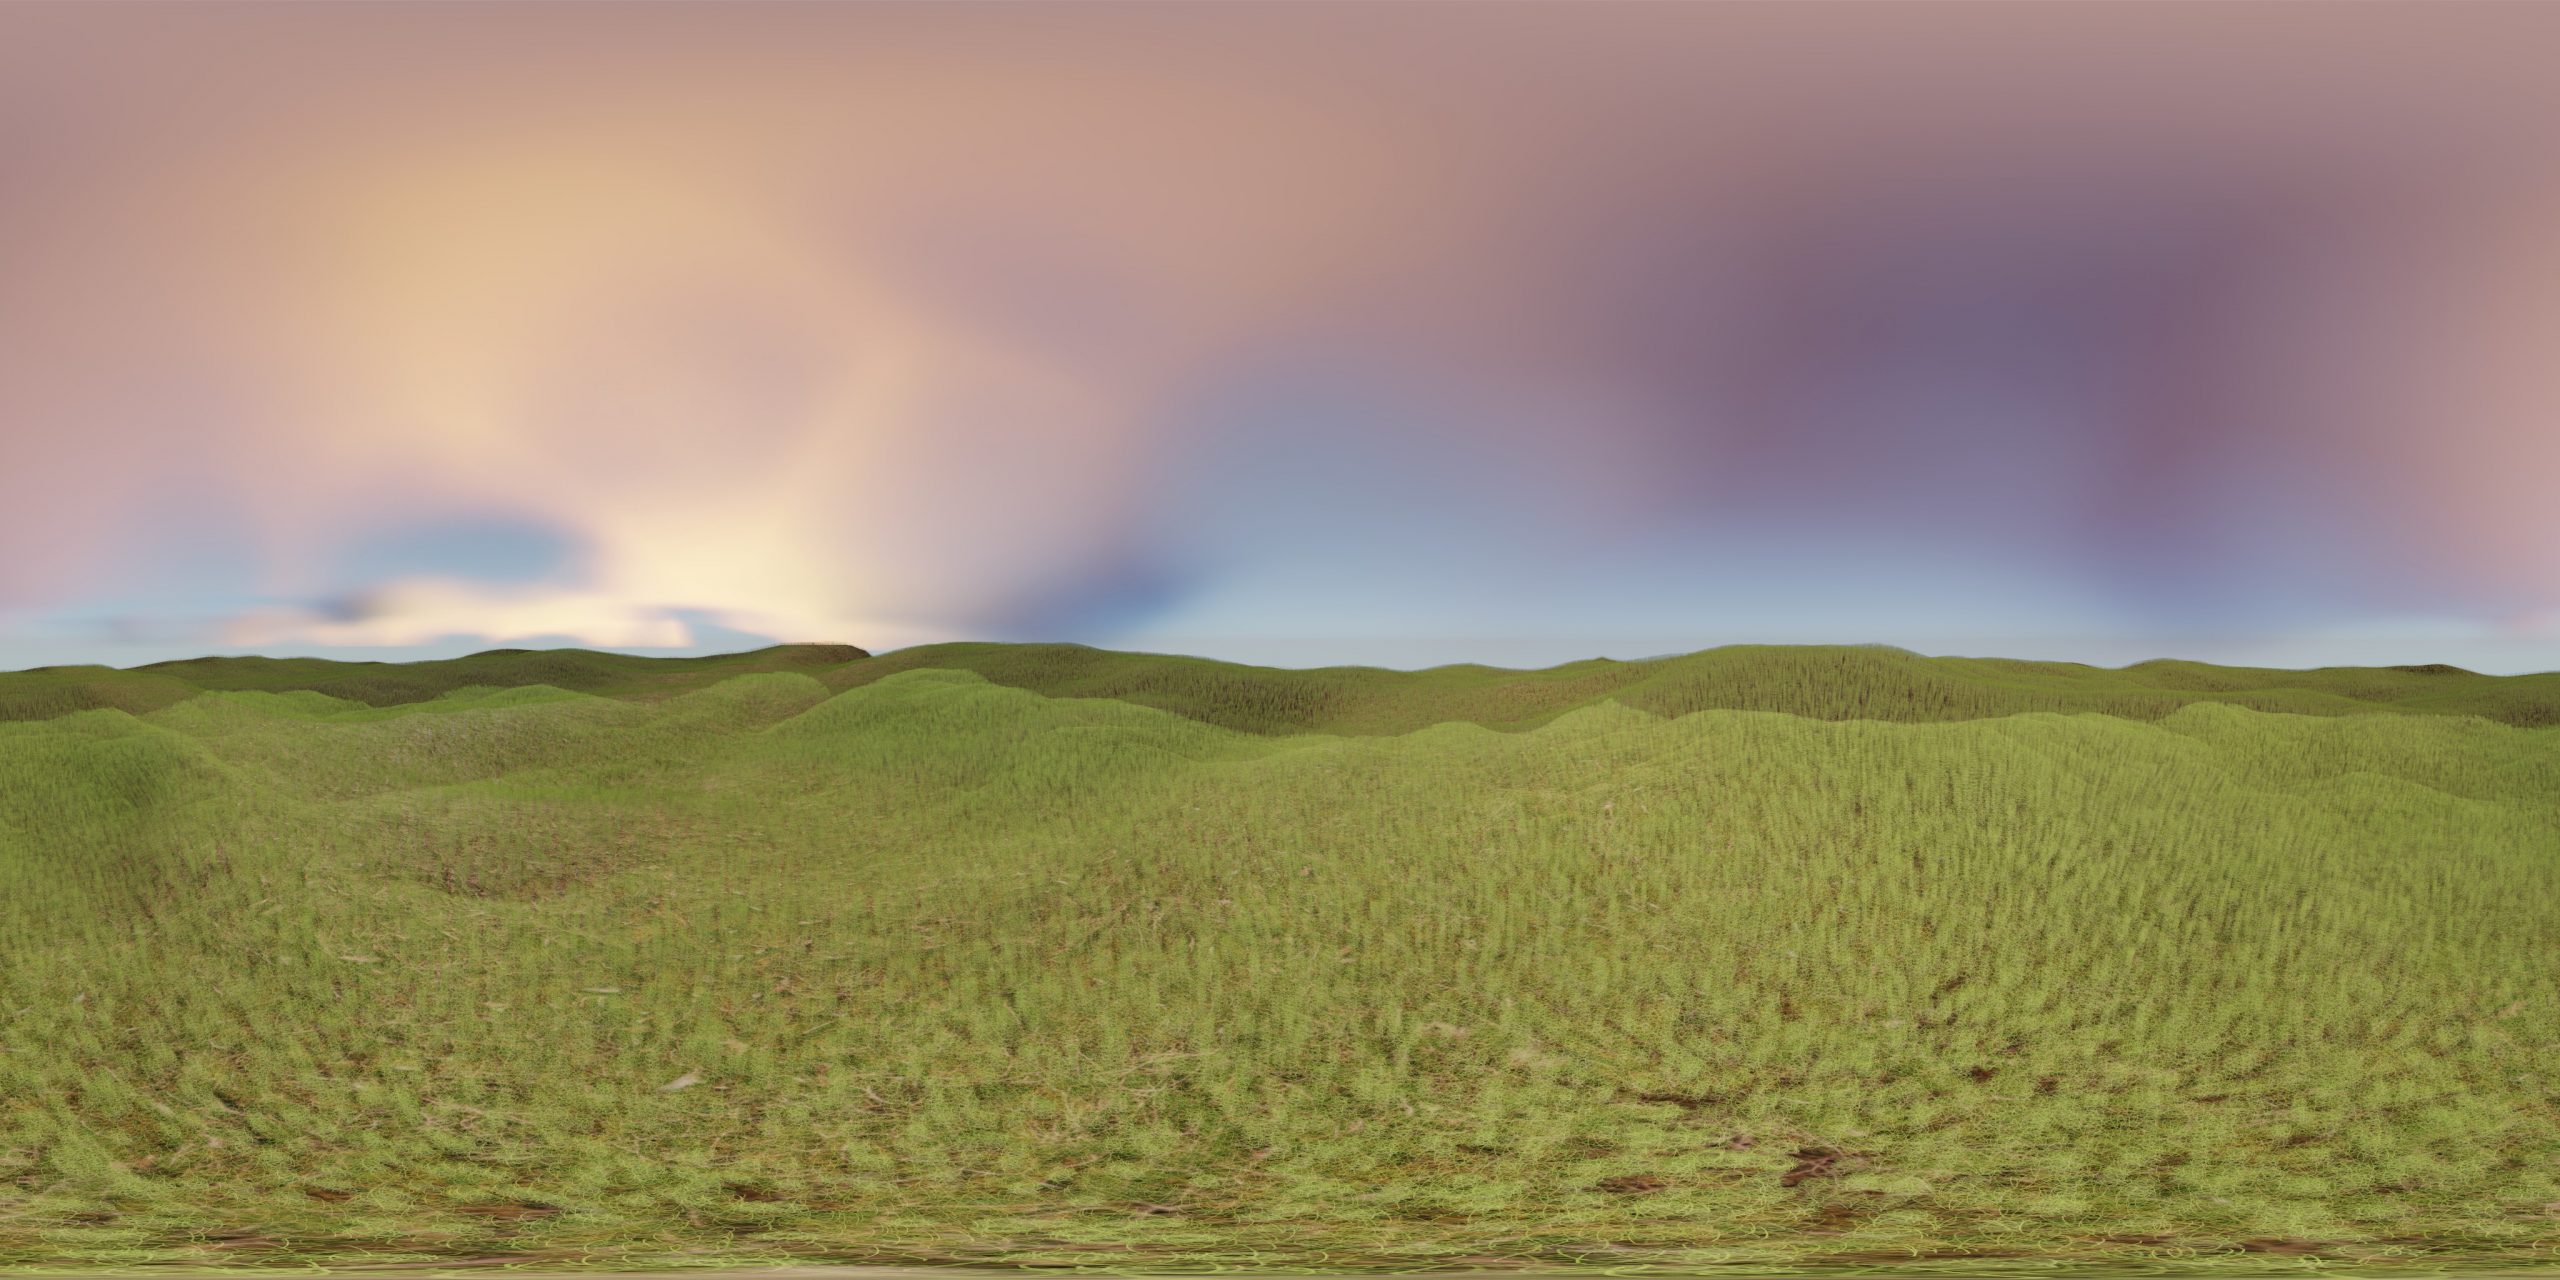
Panoramic, having a somewhat meaning of wide view surrounding. It uses a single image for an image that can be wrap over a sphere. This is why the edges of the images look stretched. It uses a ray transformation equation, translating from emitting from a square to a sphere. This makes it easy to use with Cycle renderer, which uses ray-tracing/path tracing. Simply enable panoramic in the camera settings with equirectangular as the panorama type.
From Blender 2.8 and onward, EVEE the new renderer for a fast real-time rendering does not support the Panoramic camera setting. This is simply because it uses a rasterized rendering pipeline, which will project the vertices of the models onto a 2D plane and thus can only achieve a 180 degree at max. Thus, creating a panoramic texture with EVEE, it has to be done with an indirect method. One of these methods is with cubemap.
Cubemap
Cubemap is a texture type used by rendering APIs such as OpenGL, Vulkan, DirectX and etc. It is a special version of a 3D texture, meaning it has multiple layers of 2D textures. However, it has a couple of different functionalities. Firstly, It uses six layers, for each face of a cube, hence the name cubemap. There are several possible workflows in Blender.
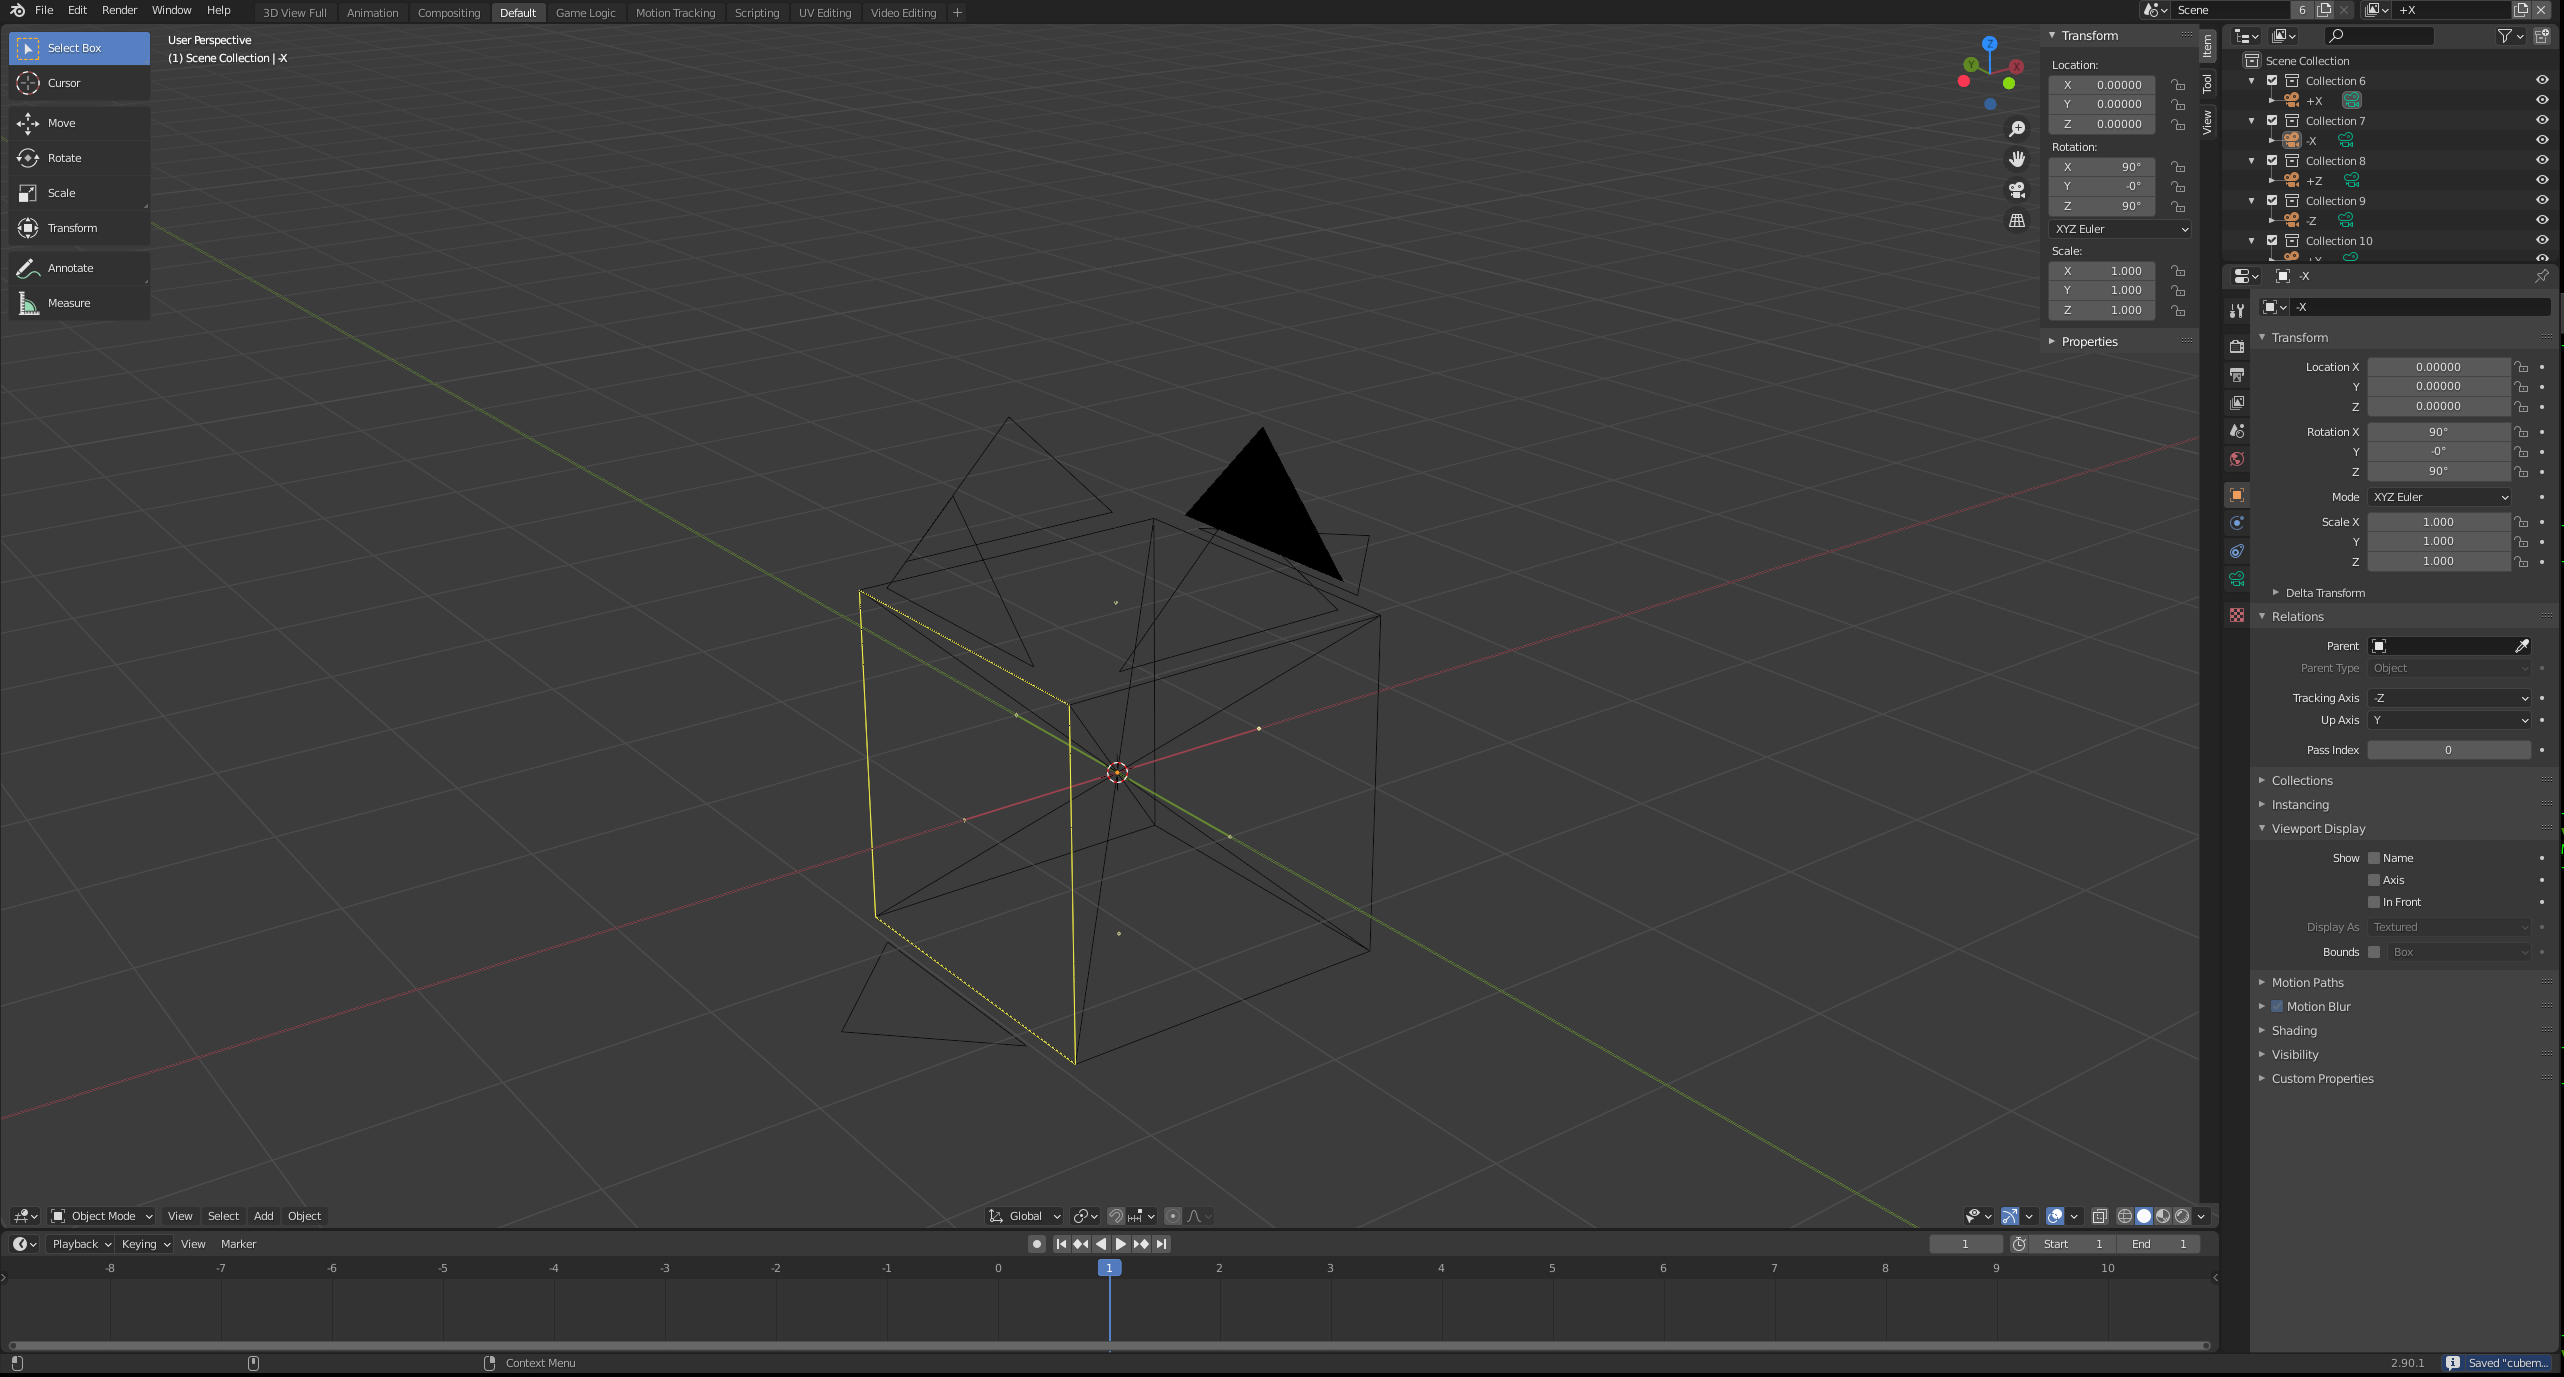
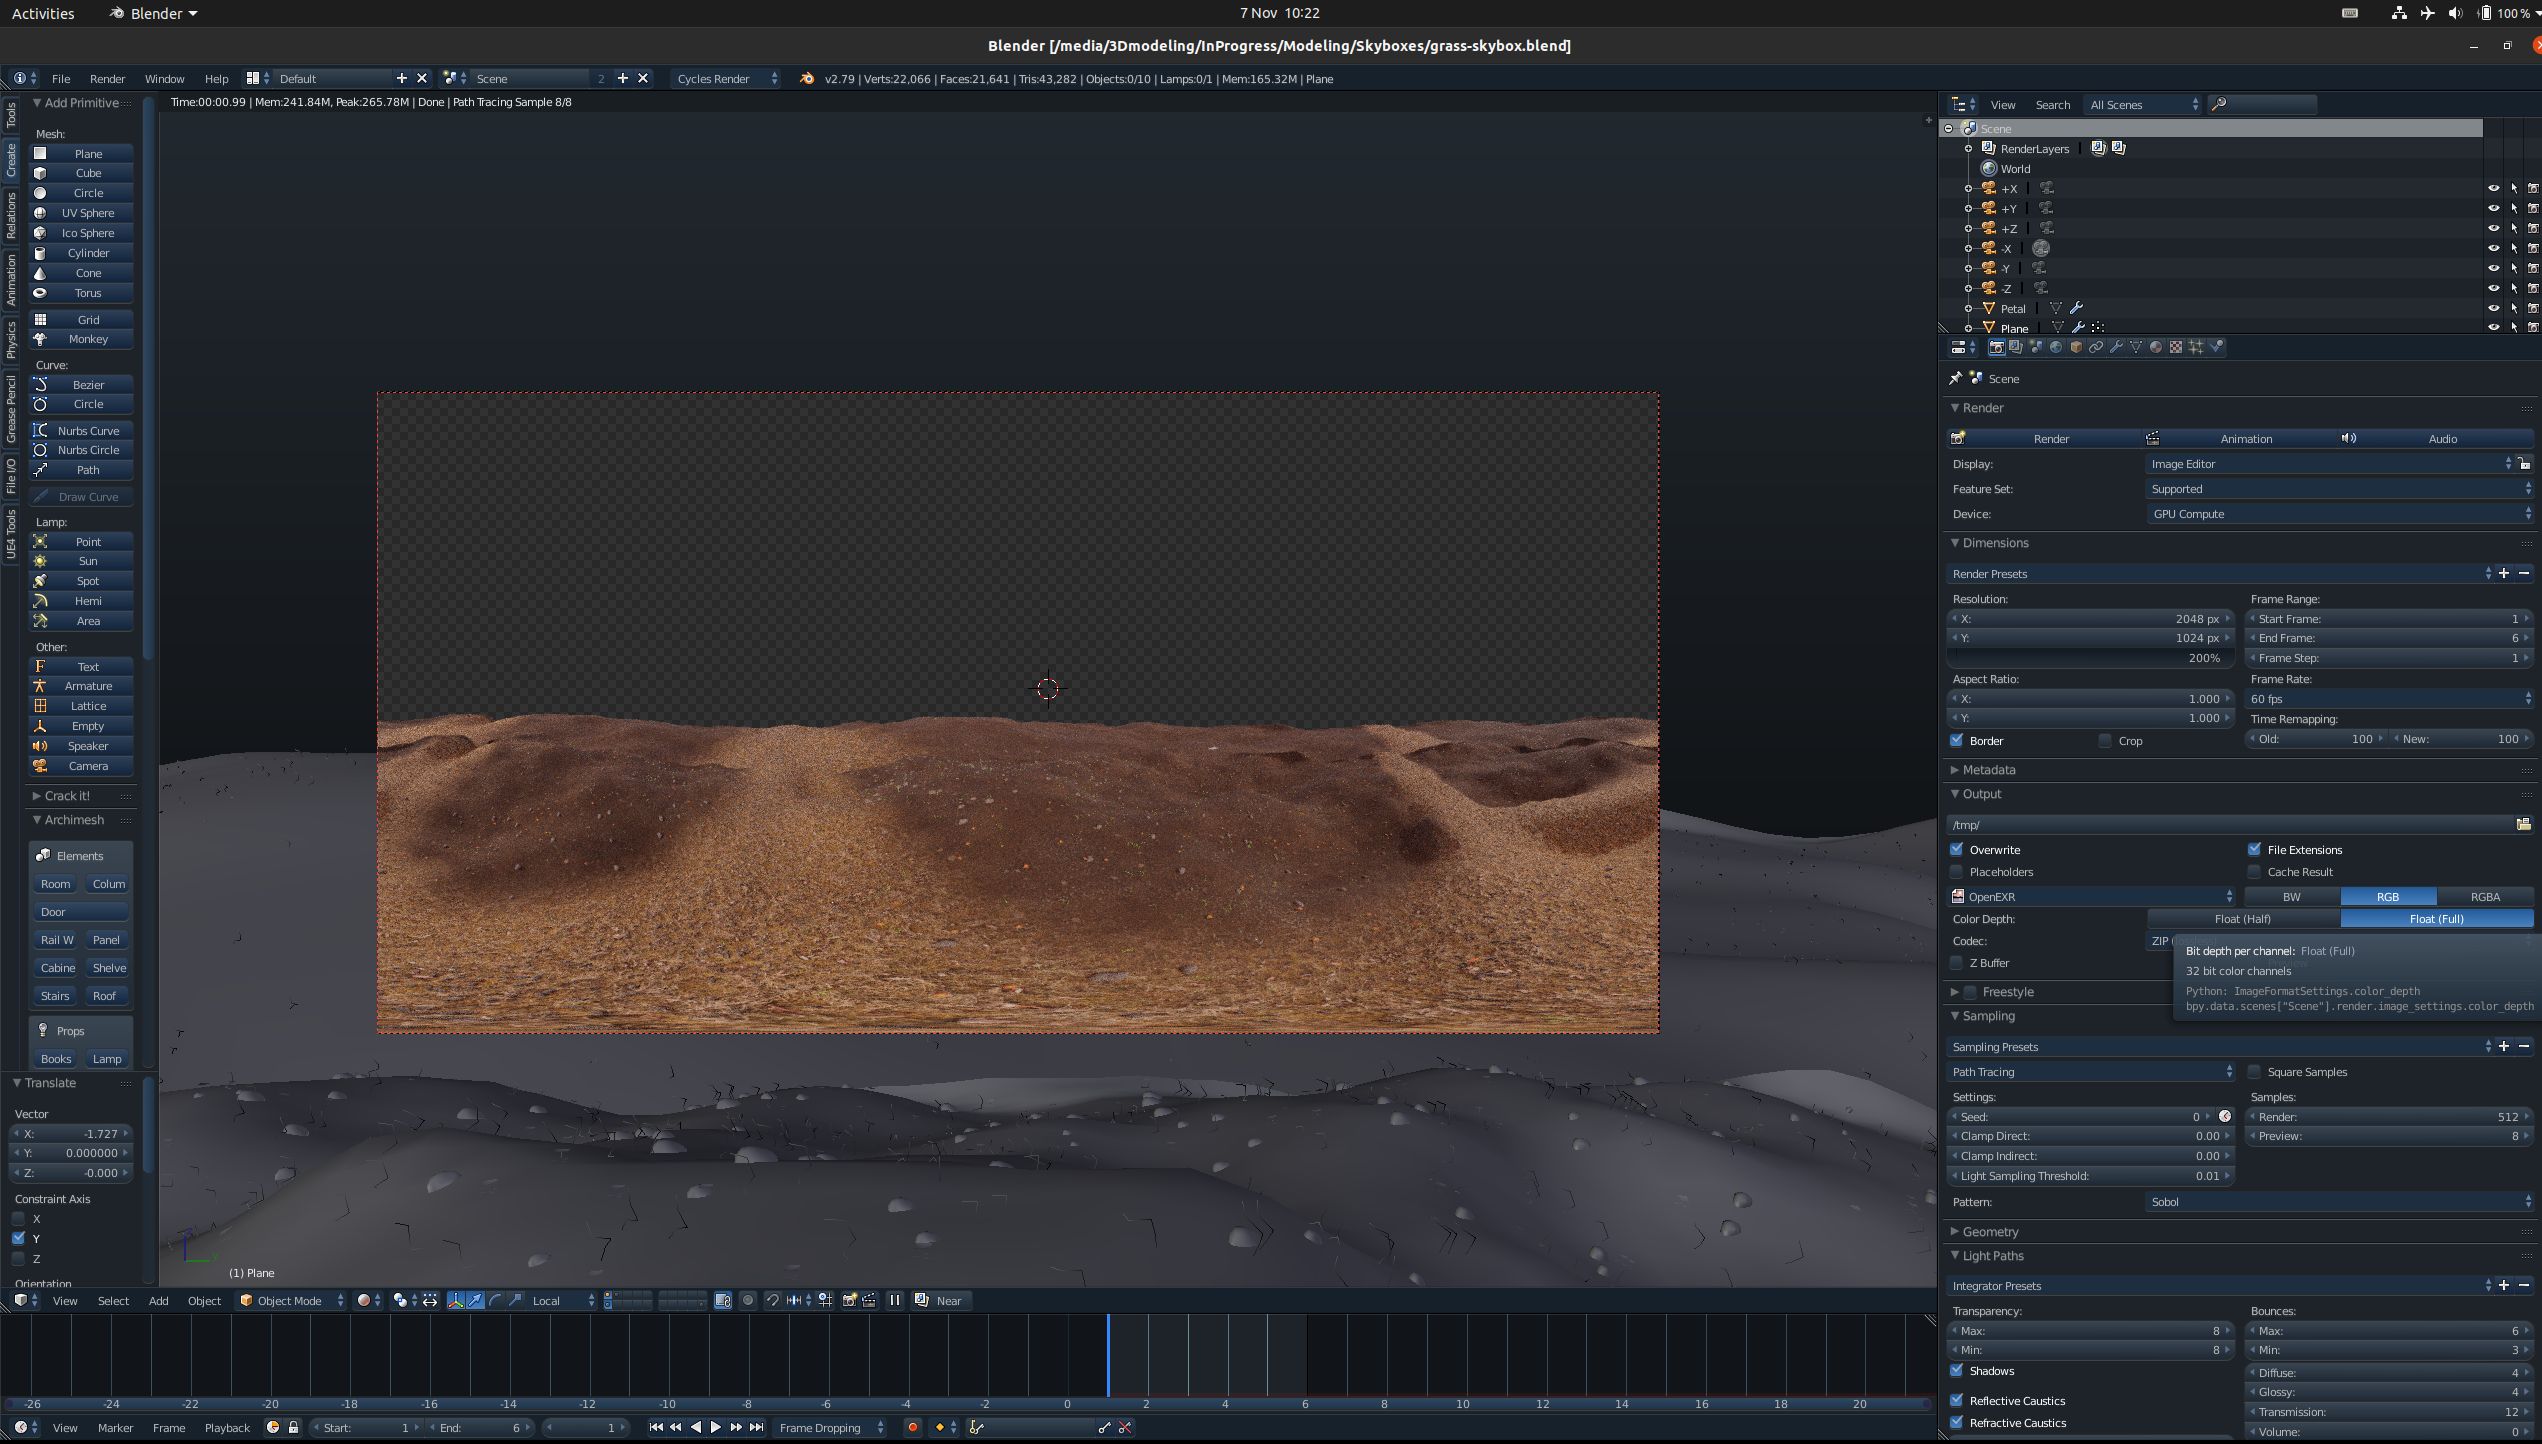
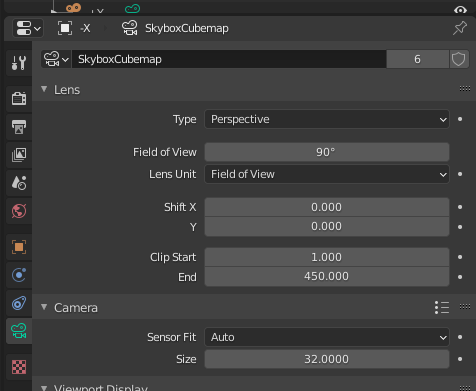
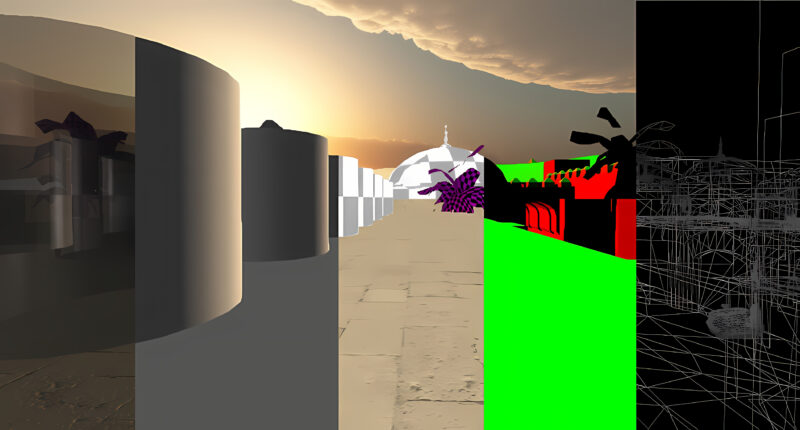
The simplest method, which is similar to point light shadow mapping. Six cameras are used, each aligned with one of the three-axis, located in the same world position. Additionally, each camera can not intersect each other view and thus its FOV (Field of view) must be 90 degrees Additionally, all the camera combine must include the whole scene.
Using cubemap with blender, that is to say, use six texture nodes is definitely possible. However, it is far from as convenient as a panoramic that only needs an environment texture node. The cubemap version would require an extensive shader node graph to handle the selection of which texture at for each pixel world direction
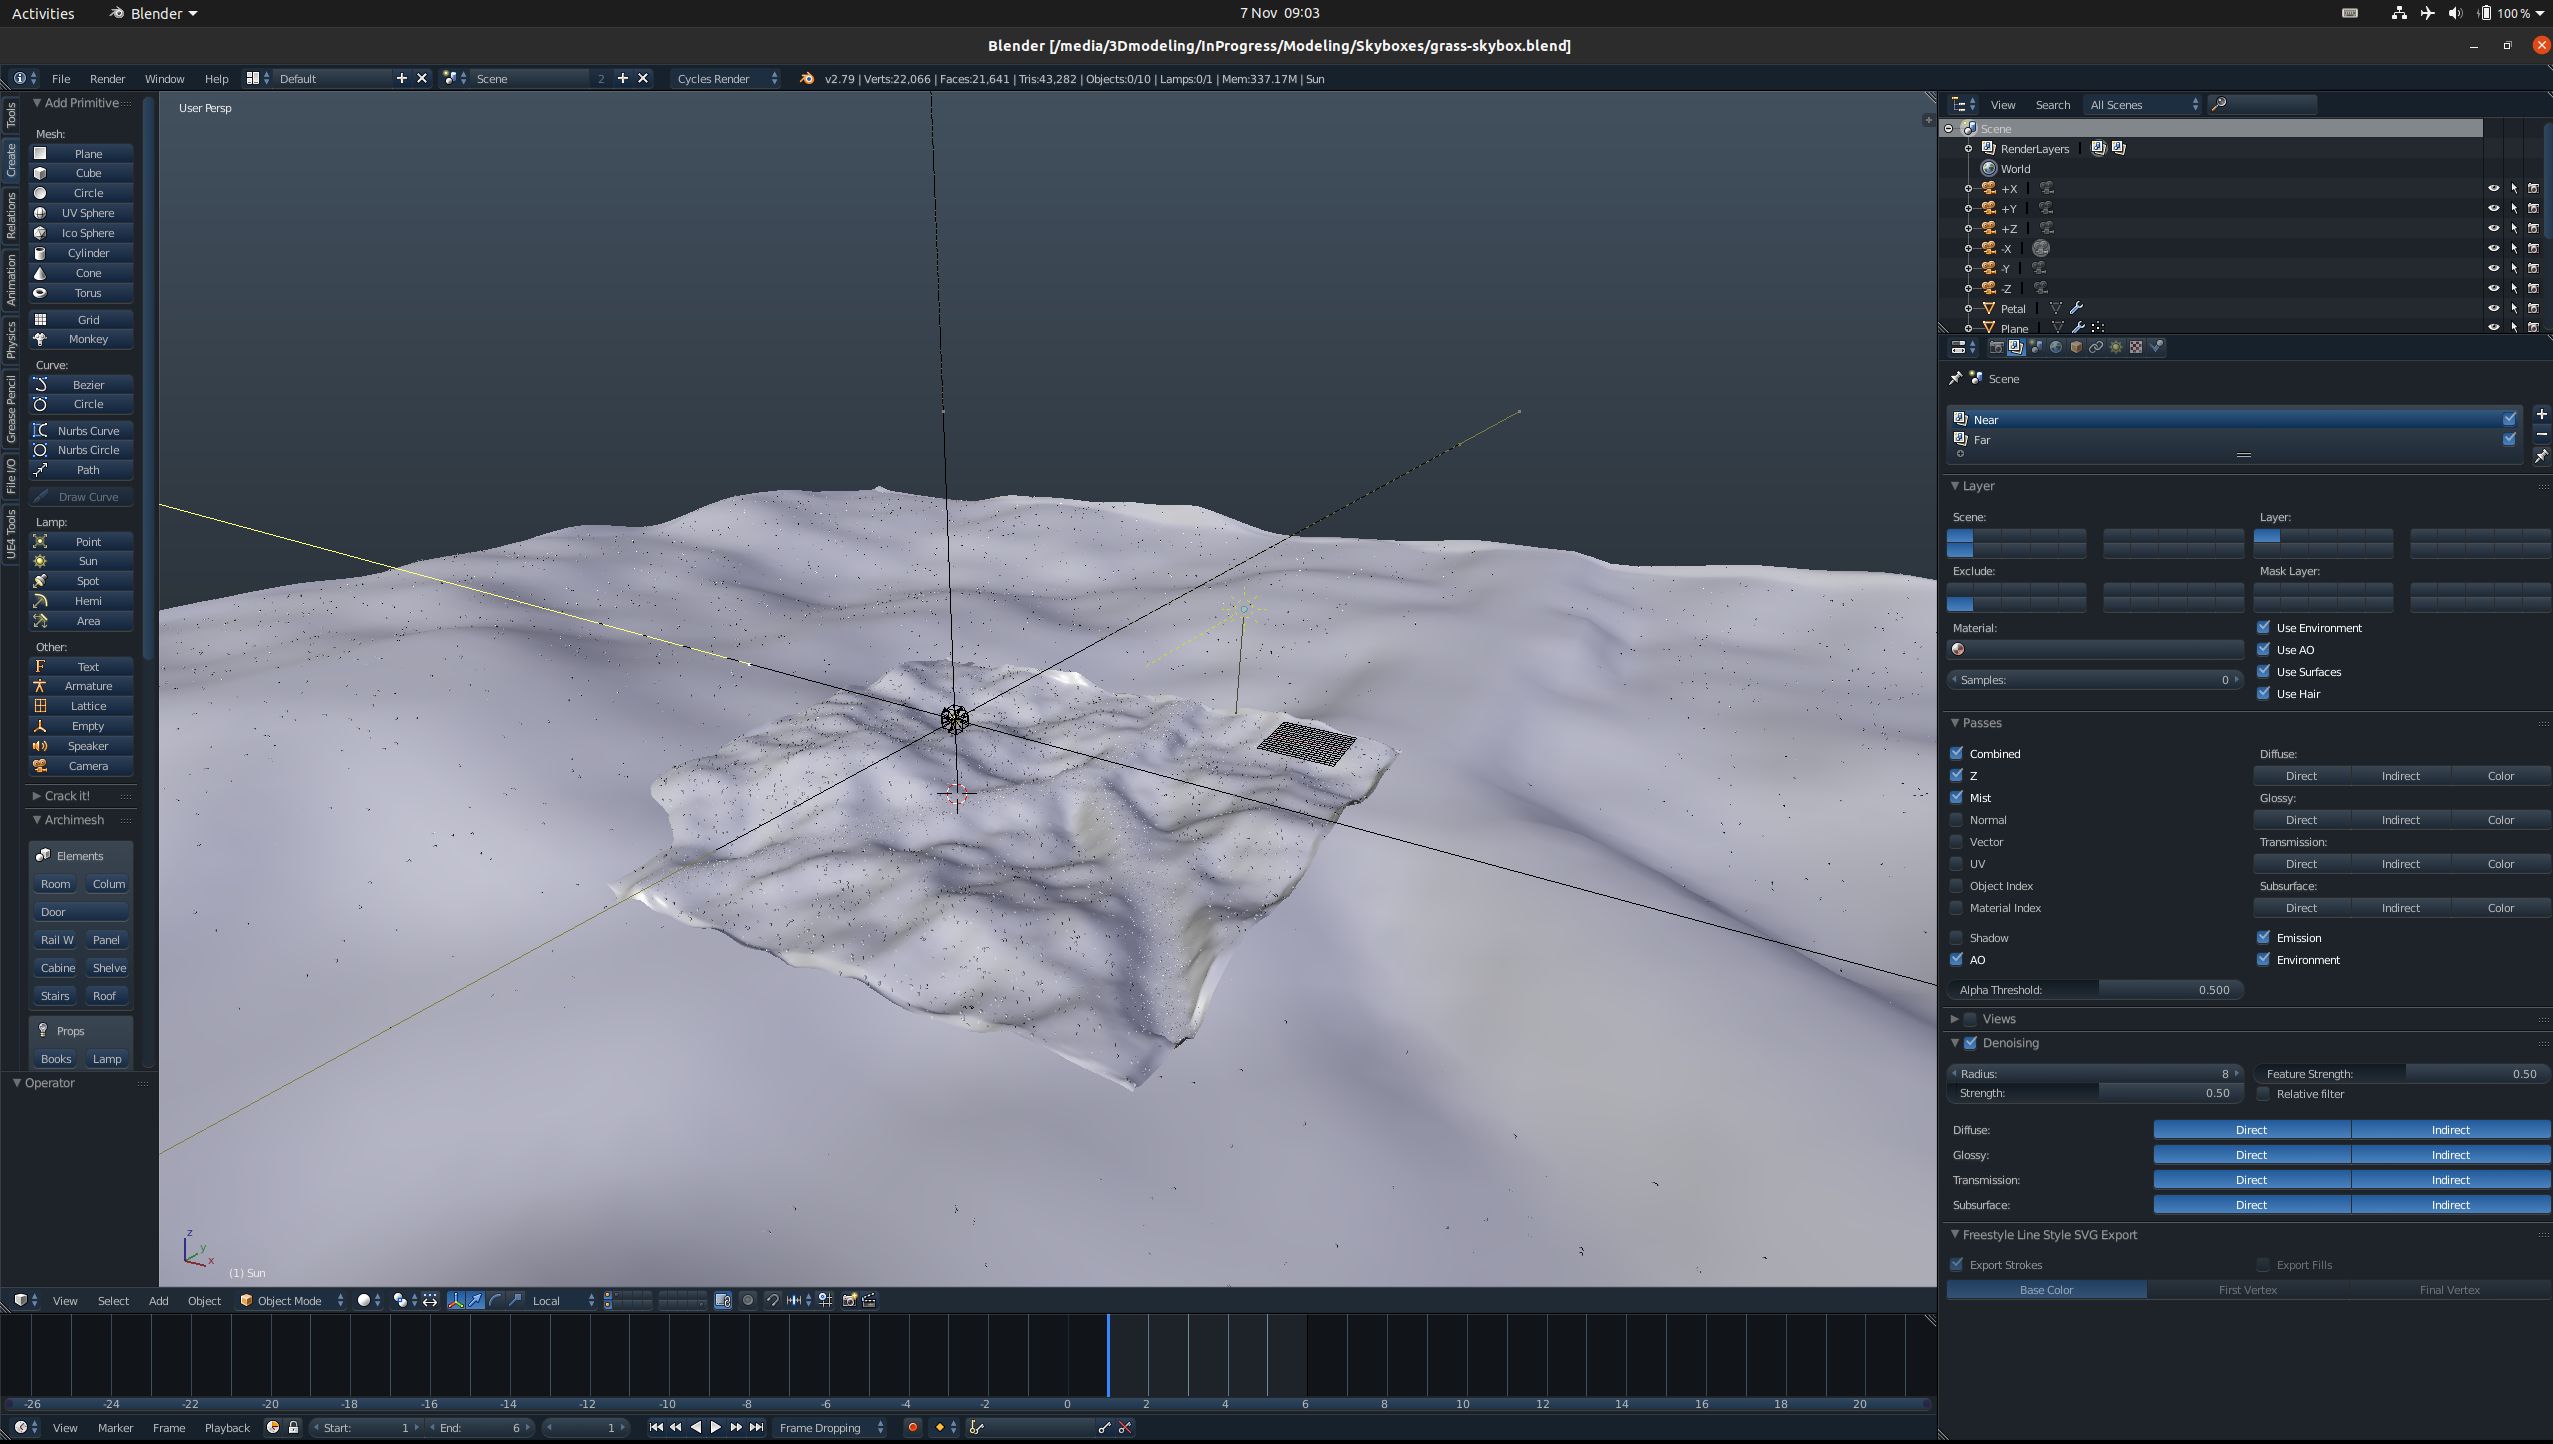
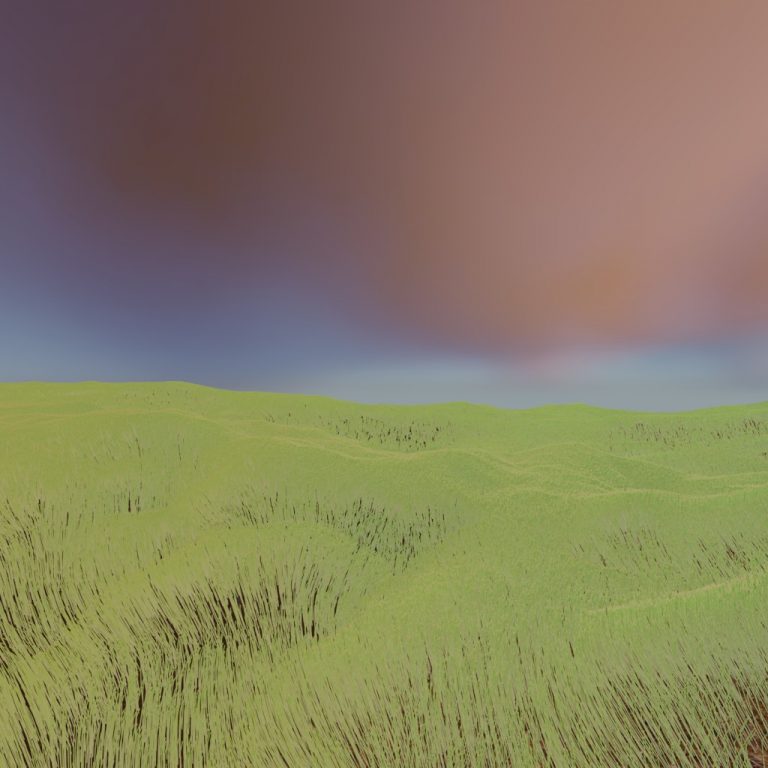
After having created your scene, all the faces can now be rendered. The following images are an example of a cube map texture and all its faces. If combined with a cube map texture or shader, it will create a skybox. The only disadvantage is that each camera has to rendered individually which requires the user having to swap the camera in between. However, see the next section for an alternative method to solve this problem.
Back
Down
Front
Left
Right
Up
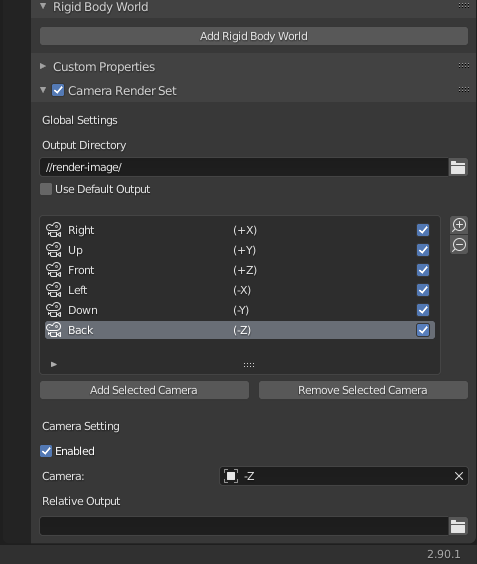
CubeMap with Camera Set Render – Addon
With the Camera Set Render addon it is possible to make the cubemap texture process a bit quicker. Where it can render all the face without having to swap the camera manually with a single button, granted that it has been configured. But this only needs to be done once. Thus, whenever made progress/revision on your render, it can simply render all the face and let the addon handle rest.
Support me by donation or by using the Affiliate links for your next purchase to help maintain this website.


Free/Open software developer, Linux user, Graphic C/C++ software developer, network & hardware enthusiast.