

Ubuntu – Linux Distribution flavor and is a very popular distribution for many services and other cool stuff in both IT, software development, and much more. So let us install the go through the steps to install the server version.
Note that the server version is simply a version of Ubuntu that is more customizable for service operation and a more minimalistic version than the desktop version. Since the desktop version contains a bunch of other features that may not be useful in many service applications.
Prepare Image
First, we download the Ubuntu 20.04 LTS server image, it can easily be done by their website. You may have to select option 2, for manual install if using USB as well continue with.
Now Insert your USB device and use the following commands. It will print out all disk devices attached to the system. Try to find your USB device.
fdisk -l
The following is an example of a USB storage device printed by the fdisk -l command
Disk /dev/sdb: 14.45 GiB, 15502147584 bytes, 30277632 sectors
Disk model: DataTraveler 3.0
Units: sectors of 1 * 512 = 512 bytes
Sector size (logical/physical): 512 bytes / 512 bytes
I/O size (minimum/optimal): 512 bytes / 512 bytes
Disklabel type: dos
Disk identifier: 0x00000000

Device     Boot Start     End Sectors Size Id Type
/dev/sdb1         264 2097415 2097152   1G 83 Linux
Now that we have a USB device and the ISO image, we can use the dd tool. Notice, if using for instance a USB device, then it would be the filename without the digit. Since you want to overwrite the whole USB.
- bs – How big of chunks it will write
- if – input file
- of – output file.
Following is an example of using the DD tool.
dd bs=1MB if=ubuntu-21.04-live-server-amd64.iso of=/dev/sdb_your_usb_name
Installation Process
Lets us go through the install process, step by step, fortunately, it is very straightforward.
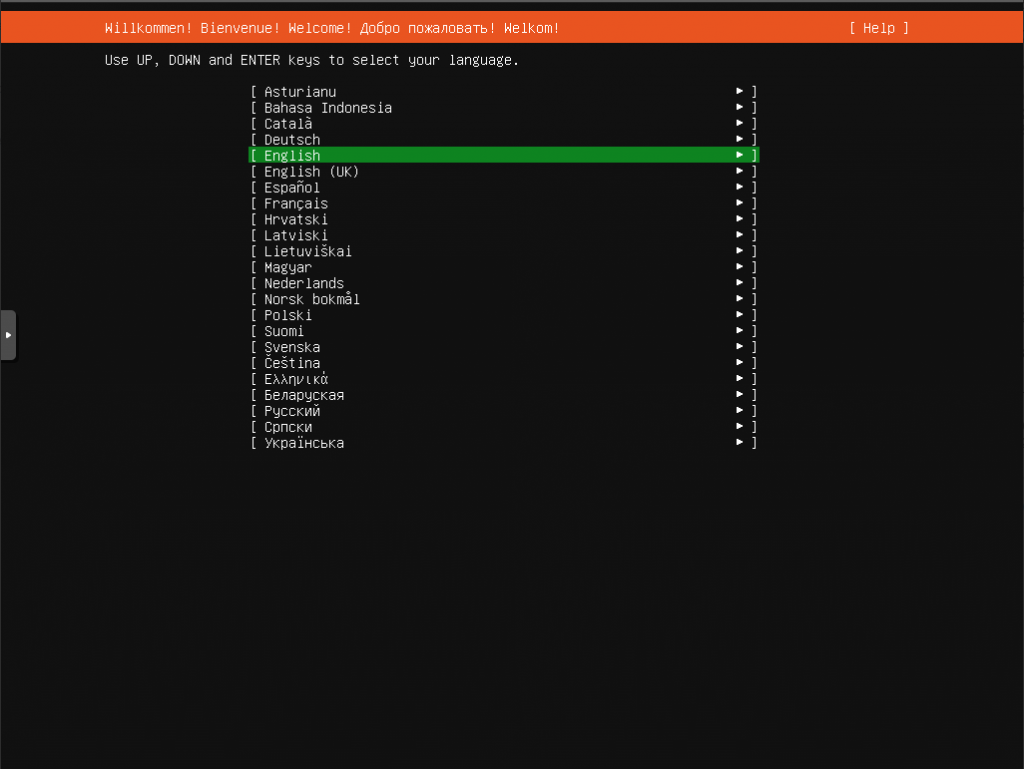
Select what language for the installation process as well as the default language the system will be configured to.
Next Select what keyboard layout you are using, this can be done either manually or automatically with the Identity keyboard. Where it will request a couple of keys being pressed.

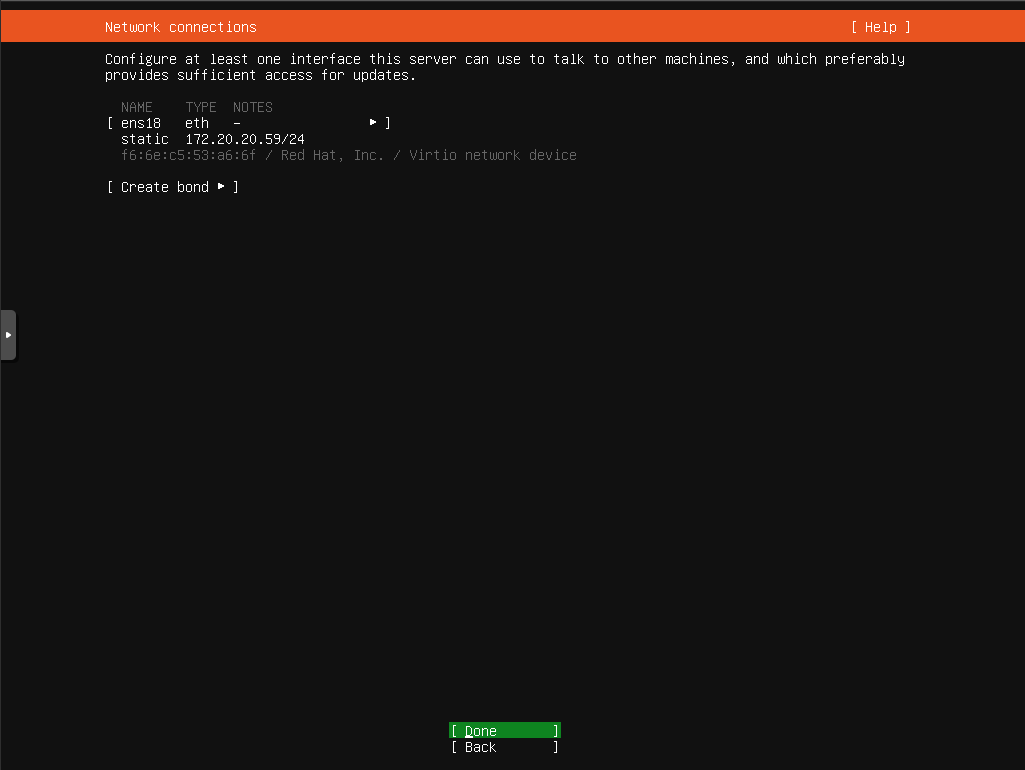
Next is the network configuration, by default, the Ubuntu installer will attempt with DHCP with the network interface that is connected. However, it is possible to do it manually, see next section.
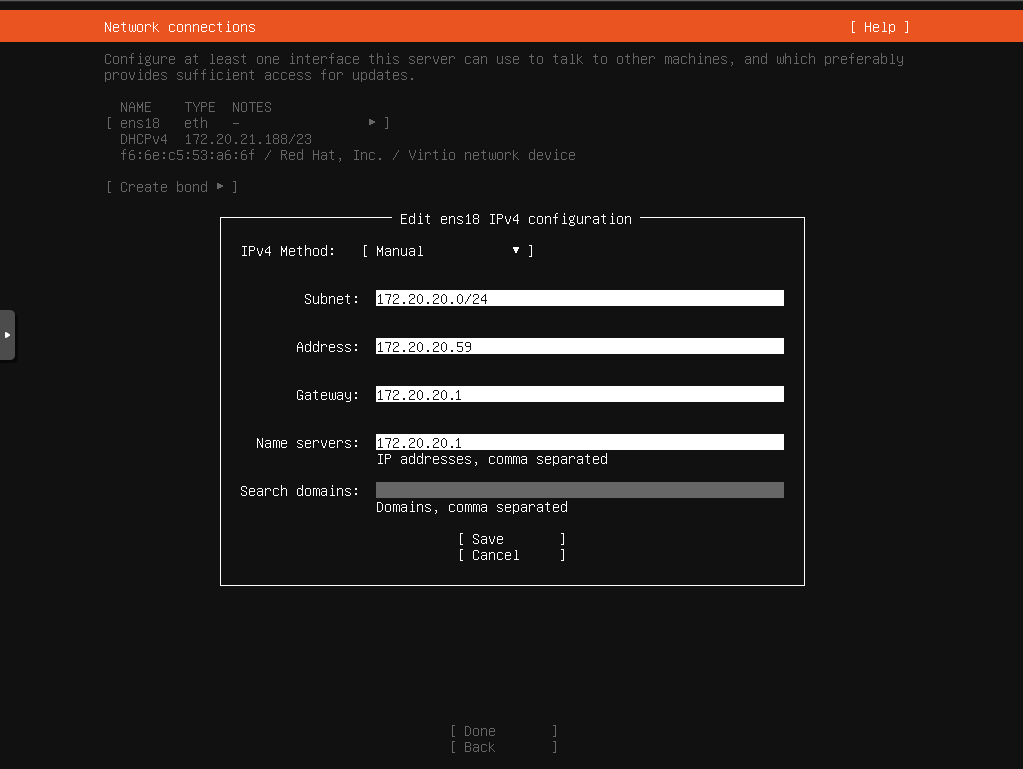
Here, is an example of a manual interface connection
- Subnet: 192.168.1.0/24
- Address: 192.168.1.32
- Gateway: 192.168.1.1
- NameServers 192.168.1.1
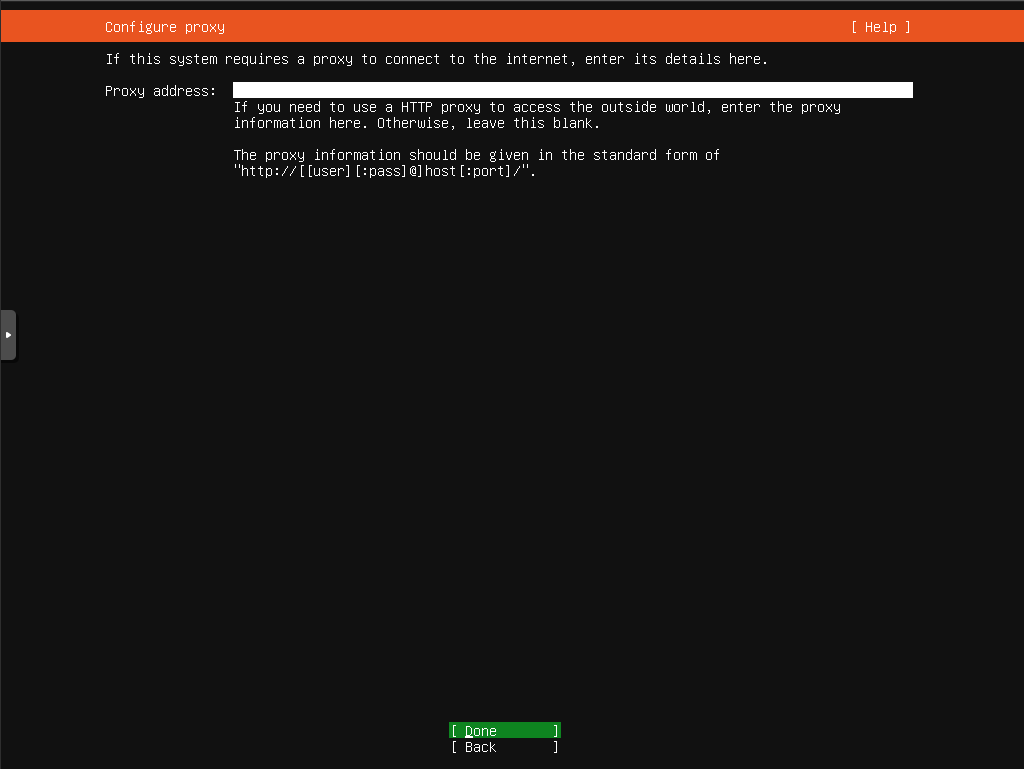
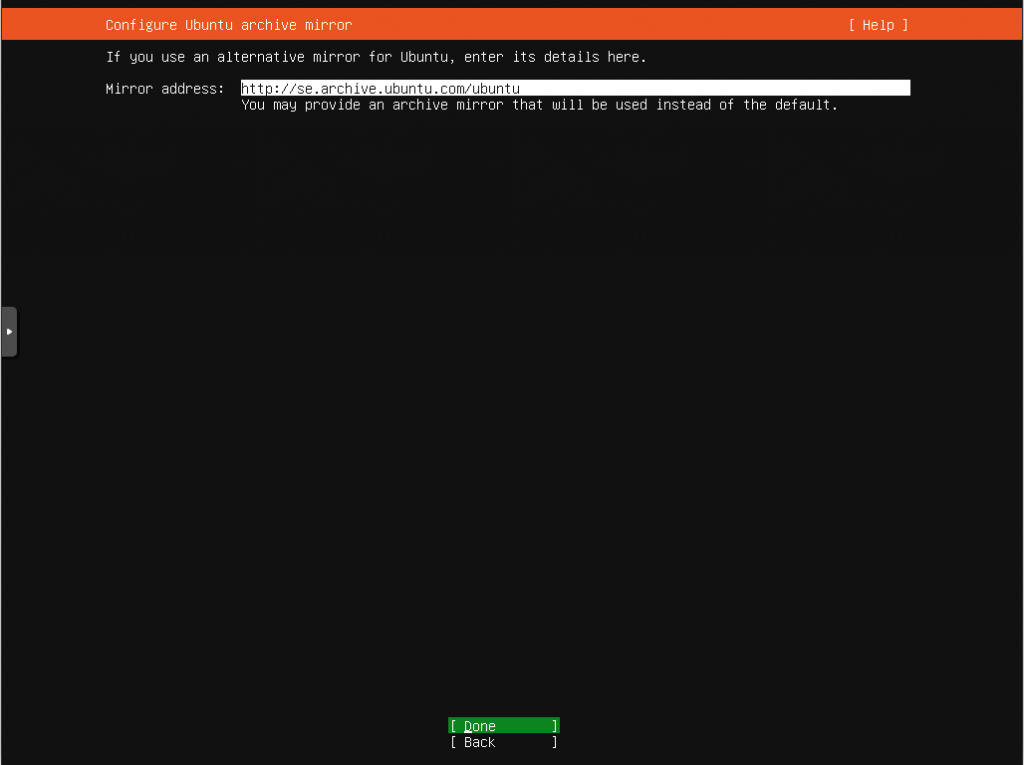
Next is optional, it is possible to set proxy configuration, if you don’t need or don’t use a proxy, then this can be ignored and just continue.
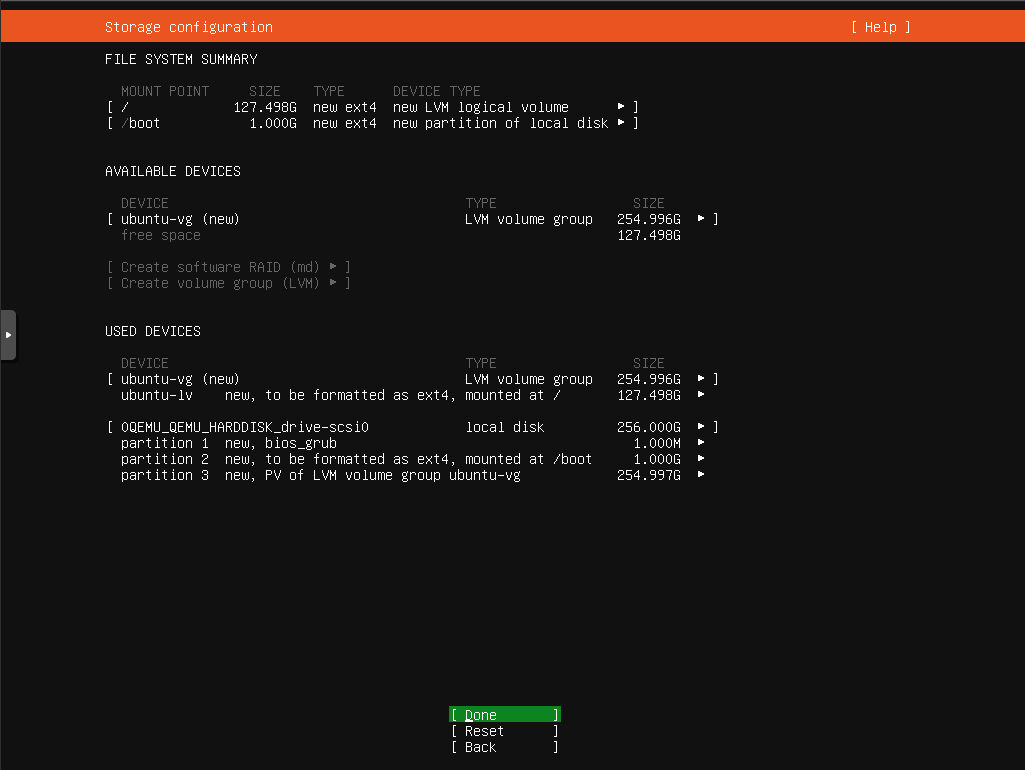
Next is setting up the storage configuration. This can be default let be. However, it can also be configured in many different ways.
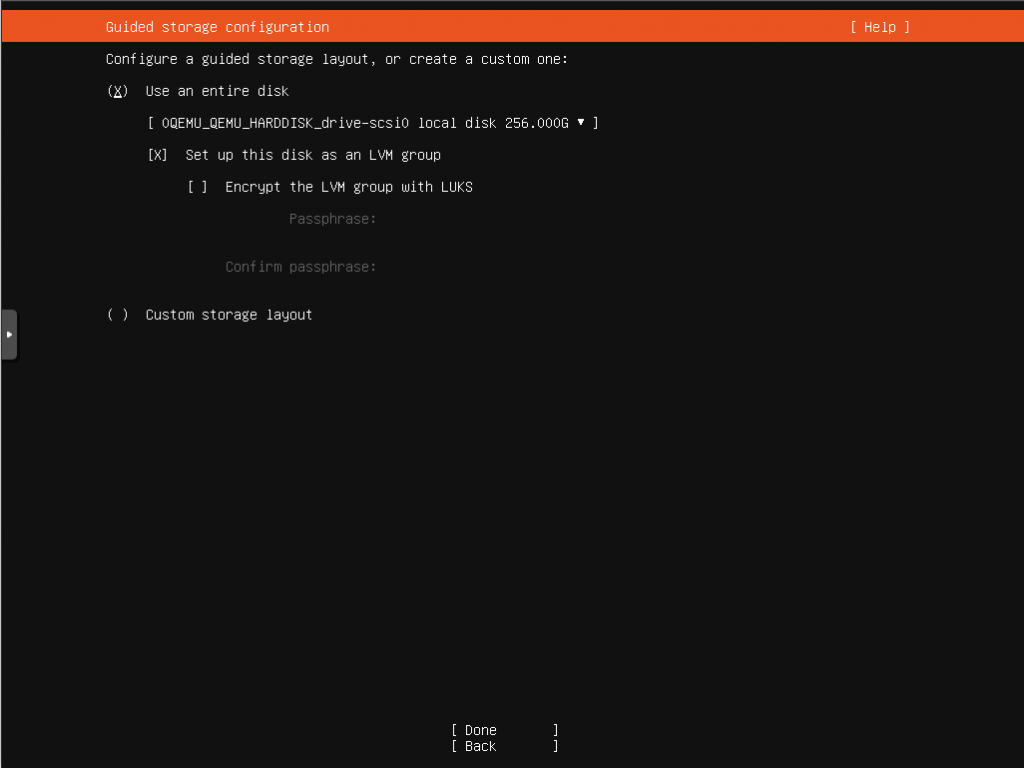
Finally, once the storage is configured, it is simply to verify acknowledge the changes if correct.
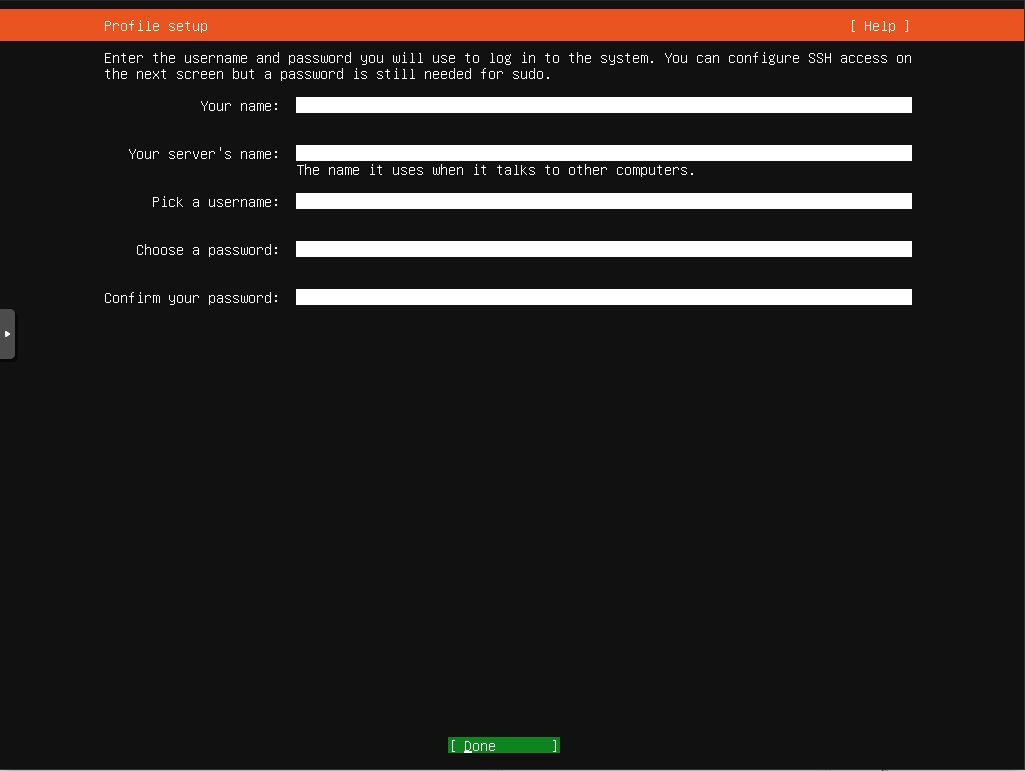
Now, you have to set up the user and the machine names (hostname) along with your username and password.
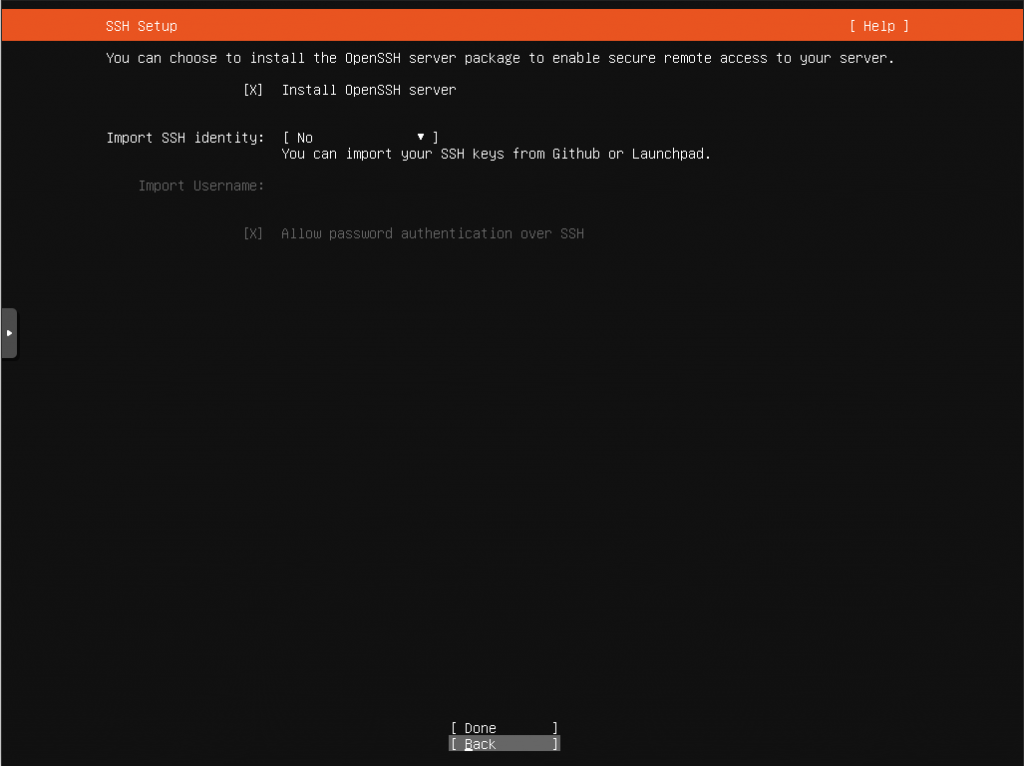
Next, comes the option to set up SSH (Secure Shell), this is not required. However, very useful and secure way of accessing the server remotely.
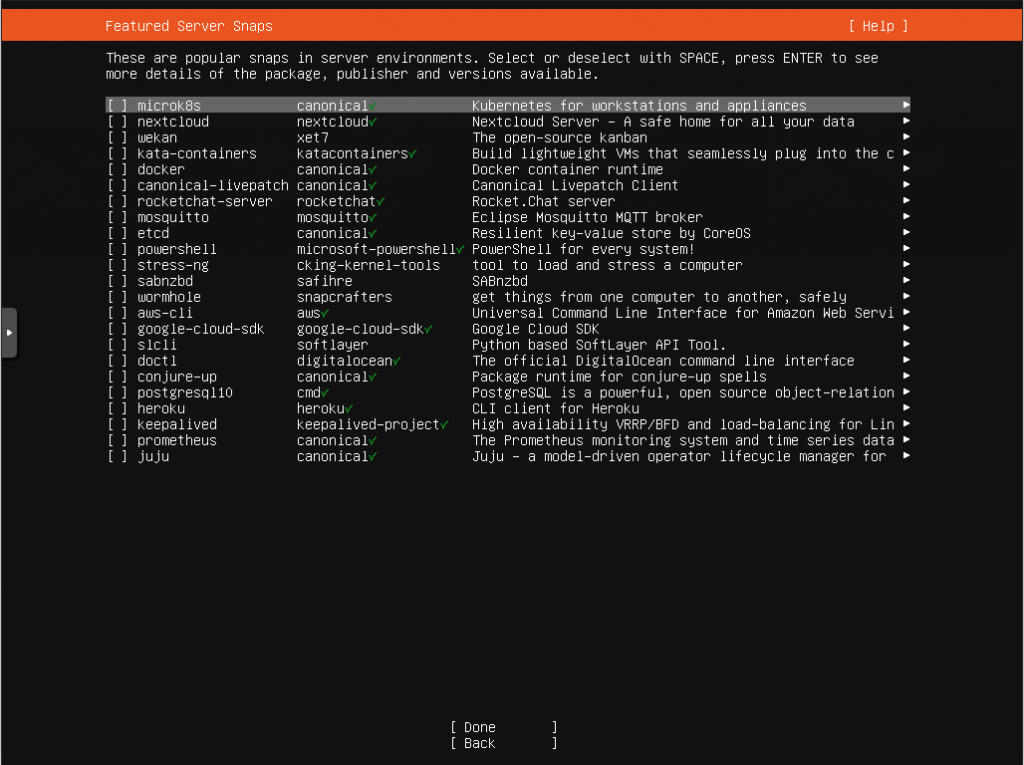
The following menu is optional. However, it is possible to setup various services directly instead of being done manually.
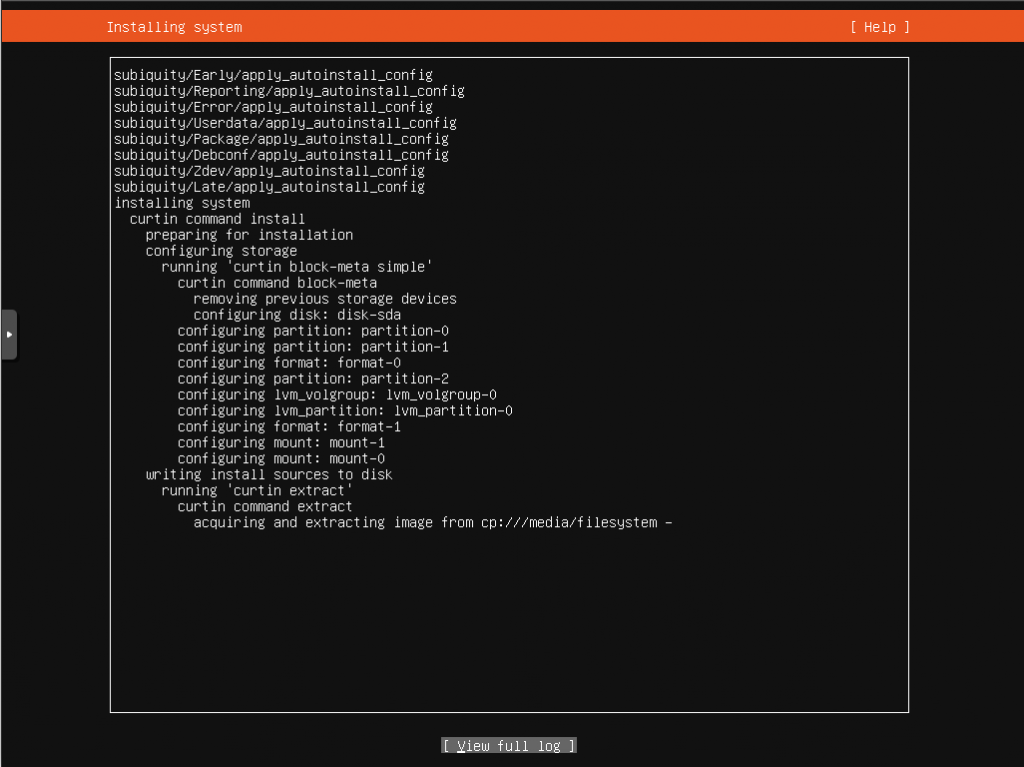
Now we just wait until the installation process is completed.
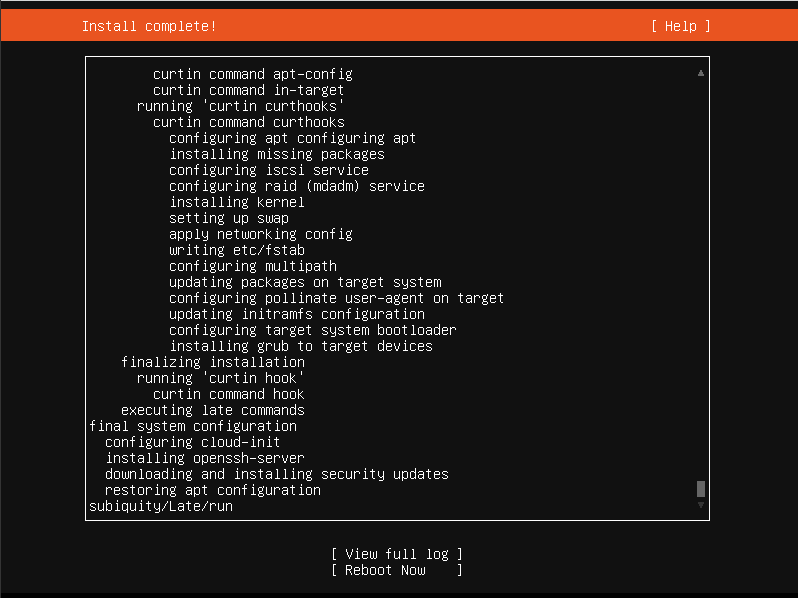
Finally, it is finished. now you just need to reboot the system.


Support me by donation or by using the Affiliate links for your next purchase to help maintain this website.


Free/Open software developer, Linux user, Graphic C/C++ software developer, network & hardware enthusiast.